
Uniform Filter Syringeless Vial press, 16 position
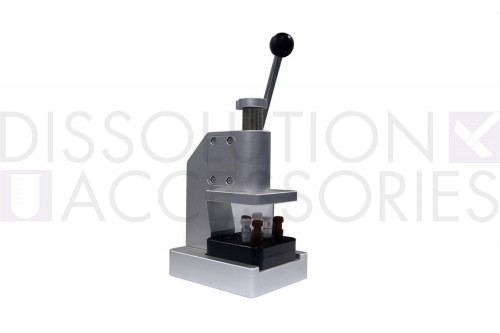
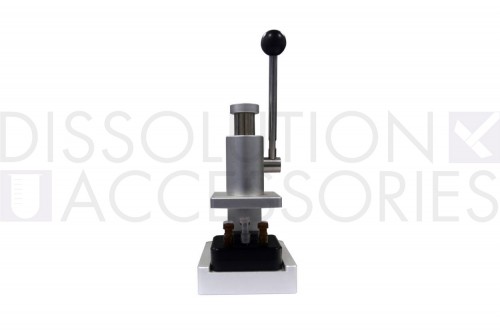


PSFVPRESS
Uniform Filter Syringeless Vial press, 16 position
Uniform Filter Syringeless Vial press, 16 position
| Product number | PSFVPRESS |
| OEM reference | FSBMVC001 |
| OEM | Dissolution Accessories |
| Material | Aluminium alloy |
| Color | Grey |
Usage Instructions,
Step 1, Choose a filter vial that is suitable for your sample. (Refer to the Chemical Compatibility Guide. If your solvent is not listed, see page 3 for Technical Support contact information.) Pour the sample to be filtered into the chamber, ensuring not to go beyond the fill line. Each filter vial can hold roughly 0.4ml.
Step 2, Insert a plunger into each filter vial until the membrane makes contact with the liquid.
A: For manual filtration without the Compressor: Gently press the plunger and the chamber together using your thumb and forefinger until the evaporation seal is fully engaged.
B: For filtration using the 16 position compressor (part no. PSFVPRESS): Place the Filter vial chambers (up to 16 position ) into the slots of the compressor filling plate. Attach the compressor filling plate to the compressor. Lower the compressor handle until it touches the filter vial lid. Gradually press down the handle until all the plungers are completely depressed and the evaporation seals are fully engaged.
Step 3: The sample filter vial is now ready for analysis.
A: Insert the filter vial into a compatible* autosampler for automated sample injection into your instrument.
B: Pierce the septum and use a syringe to manually draw the filtered sample for injection into your system.